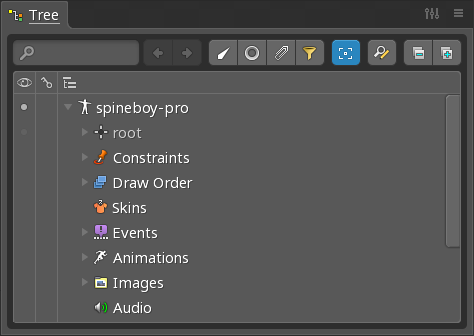
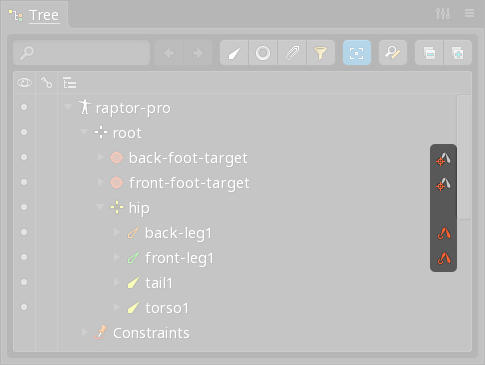
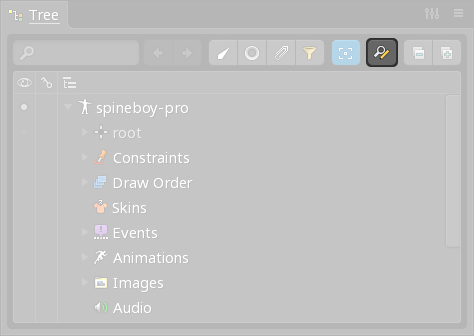
Tree view
The tree view provides a hierarchical view of your skeletons and everything they contain. The tree is central to using Spine and has many features to make navigating your project easier.
See the tree tips for various ways to use the tree efficiently.
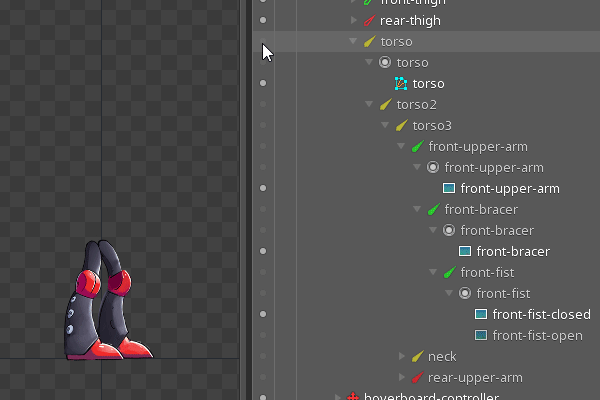
Tree nodes
Expand and collapse
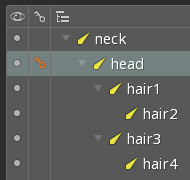
Tree nodes can be expanded or collapsed by clicking anywhere left of the node's icon. Right clicking anywhere on a node will expand or collapse that node and all its children, which can greatly reduce the number of clicks needed to find a particular node.
After some time using Spine, many nodes will get expanded. To make the tree easier to navigate, double click the collapse button to collapse them all.
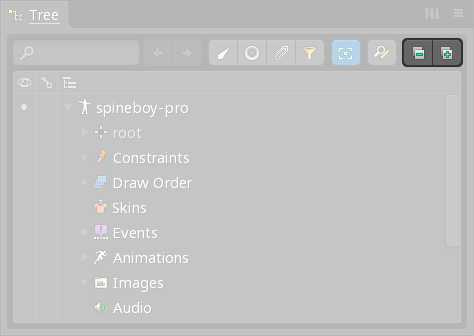
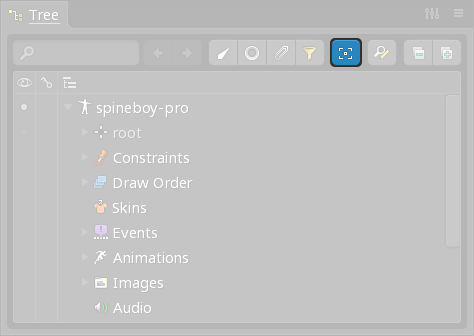
The expand and collapse buttons at the top of the tree can also be used to expand or collapse the selected nodes and all their children. If no nodes are selected or the buttons are double clicked, all nodes are expanded or collapsed.
Selection
A tree node can be selected by clicking anywhere to the right of the node's icon. Hold ctrl (cmd on Mac) and click to select multiple nodes. Select a node, then hold shift and click another node to select all the nodes between them.
Spine keeps a selection history that is navigated by pressing page down and page up.
Auto scroll
If the tree has scrolled away from an item you need, page down will usually take you back to it in the selection history.
When auto scroll is enabled, the tree will automatically expand and scroll to nodes when items are selected in the viewport. Sometimes this is very useful, other times it is better to disable auto scroll so you don't lose your place in the tree.
Right click the button to scroll to the selected node.
Visibility
Many tree nodes have a visibility dot along the left edge of the tree. Clicking the visibility dot will show or hide the item.
Keying
In animate mode, some tree nodes have a key button along the left edge of the tree. Clicking the key will set a key for the item.
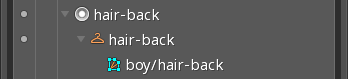
Annotations
Annotations are displayed along the right edge of the tree to indicate a relationship with another item. For example, that an item belongs to a skin or has a constraint applied. The annotation icons can be clicked to select the related item. Right click to select the related item without scrolling to it, even when auto scroll is enabled.
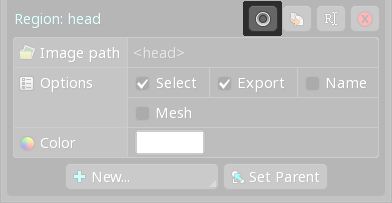
Properties
When an item is selected in the tree, its properties are shown at the bottom of the tree. These properties are where the items in your project are configured. Some properties can only be edited when a single node is selected.
Most properties have the same three buttons in the upper right for duplicate, rename, and delete.

Some properties have an additional button in the upper right that changes the selection to a related tree node.
Drag and drop
When a drag starts, it cannot be dropped for a very short period of time to prevent an accidental drag and drop.
Many tree nodes, such as bones, slots, or attachments, can be dragged to a new parent node. This is equivalent to clicking the Set Parent button and then clicking the new parent.
While dragging, if the mouse goes above or below the tree, the tree will automatically scroll. While dragging, the mouse wheel can be used to scroll, right click can be used to expand or collapse nodes, and hotkeys like page down for selection history can be used.
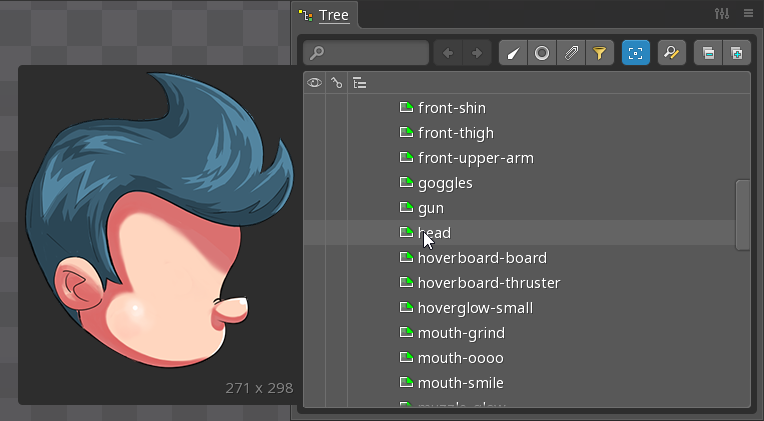
Image preview
When the mouse is placed over the tree node for a slot, region attachment, or mesh attachment, after a moment the image for the tree node is displayed in a popup next to the tree and the attachment is shown on the skeleton in the viewport. F1 can be used to show the image preview without waiting.
Once the image preview is shown, placing the mouse over other tree nodes will show the image preview for those nodes without a delay.
The image preview can be disabled by unchecking the tooltips setting. In that case, the popup can still be seen by pressing F1.
Shortcuts
- Pressing
F2will open the rename dialog for the selected tree nodes. - Double clicking a tree node that can be renamed will open the rename dialog.
- Double clicking the
Animations,Events, orSkinsnode will create a new animation, event, or skin. - Right clicking a visibility dot will toggle it for that tree node and all its children.
- Selection groups can be used to store and recall selections.
Filters
The tree can be filtered to show only the chosen types of tree nodes. Click the filter button to select the tree node types that will be shown. When a filter is active, the filter button is red.
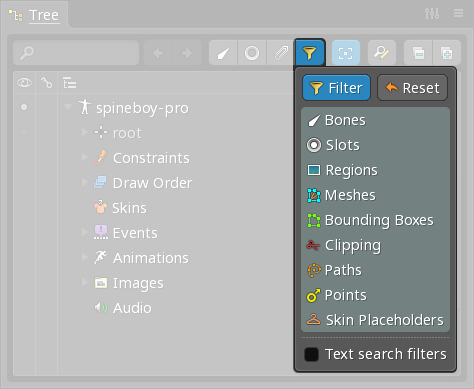
Hold ctrl (cmd on Mac) or shift to select multiple filters. The Reset button selects all filters.
When Text search filters is checked and text search is used, nodes that don't match the search are hidden.
Right click the filter button to toggle the filters on or off.
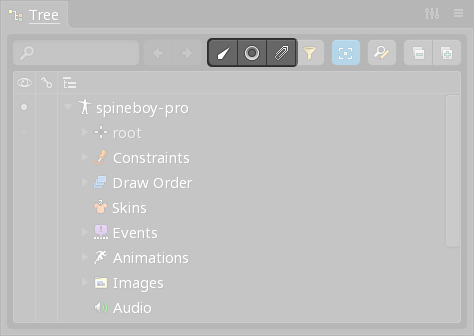
Filter buttons
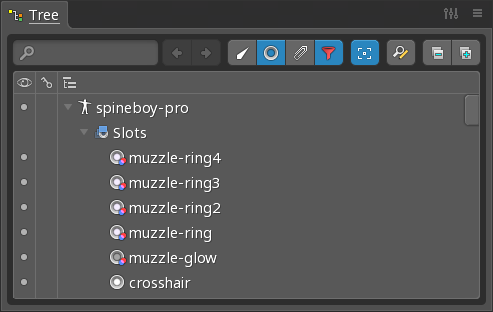
Buttons are provided to quickly set the filter to show bones, slots, or attachments respectively.
Using filters
The tree filters are very powerful and can make a number of tasks easier.
Normally when an attachment is selected in the viewport, it is also selected in the tree. When attachments are hidden in the tree, the attachment's slot is selected in the tree instead. This can make selecting slots easier by selecting an attachment in the viewport rather than digging through the tree to find the slot.
When bones are hidden in the tree, the Draw Order node disappears and the slots are shown in the draw order. The slots can be dragged up or down to change the draw order. Seeing the slots without bones makes it more convenient to select multiple slots, for example to change their color.
By hiding both bones and attachments in the tree, adjusting the draw order can be easier.
Any time the task is to select a particular type of tree nodes, the tree filters can be useful. For example, if you need to choose a path in a complex skeleton, you could filter to show only path attachments. Or you can filter the tree to show only region attachments so you can more easily select many region attachments to turn them into mesh attachments.
Find and replace
The find and replace button opens a dialog for replacing text in the names and paths in your project.
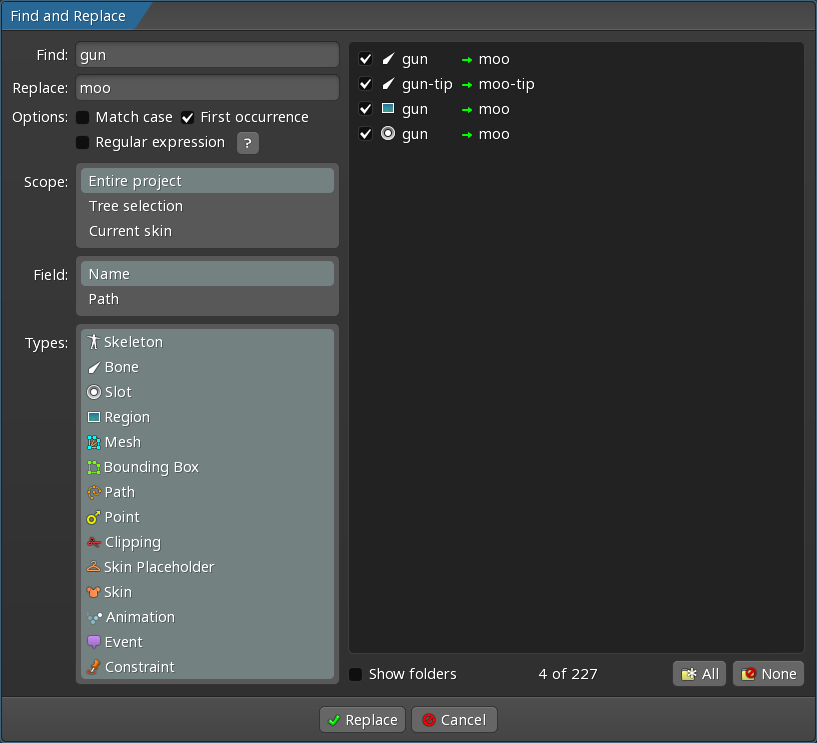
The Find text box is the text to search for. The Replace text box is the text to replace it with.
Options are provided for how the Find text is matched:
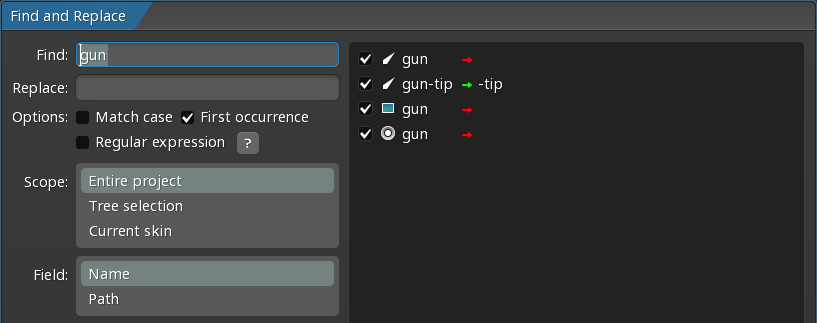
Match case: When checked, the capitalization of theFindtext is important when searching.First occurence: When checked, only the first match within a name or path is replaced.Regular expression: When checked, theFindtext is used as a regular expression. This provides a somewhat cryptic but extremely powerful way to find and replace. Some examples:^matches the start:^something
For example to prepend a subfolder, find:^, replace:subfolder/, result:something→subfolder/something.$matches the end:something$.matches any single character:s.mething.*matches everything:some.*- Parenthesis group a match, which can then be used in the replacement.
For example, find:some(th.*), replace:other$1, result:something→otherthing.
The panel on the right of the find and replace dialog displays the matches and shows the replacements. You can uncheck a match and it will not be replaced. A green arrow indicates that the replacement is valid. A red arrow indicates a problem with the replacement. For example, some names must be unique and blank names are not allowed.
Scope specifies what part of the project is searched:
Entire projectwill consider all items in the project.Tree selectionwill only consider items that are selected in the tree. Tree filters can make selecting many tree items easier.Current skinwill only consider items that are in the current skin.Selected skeletonswill only consider items that are in the selected skeletons.
Field specifies whether the Name or Path fields are being searched.
Types specified which types of objects to consider. Hold ctrl (cmd on Mac) or shift to select multiple types.
Unused selects the items that don't have keys in any animation.
Missing images selects the items for which an image could not be found using their path field.
Show folders includes folders in the search results.
All selects all of the items in the search results.
None deselects all of the items in the search results.
Select selects the results in the tree view.
Replace replaces the results in the tree view.
Text search
The search box at the top of the tree allows items in the tree to be found by typing. Click the search box or press enter to focus it. Typing in the search box will highlight matching items in the tree. If the Text search filters tree filter is active, only matching items are shown.
Press enter, F3, or click the next arrow to select the next search result. Press shift+enter, shift+F3, or the previous search arrow to select the previous result. Press escape to clear the search.
The search text can contain special characters:
*matches any characters.?matches any single character.\escapes any literal*,?, or/.
When the search text has a forward slash (/) at both the beginning and end, it will be treated as a regular expression.
View settings
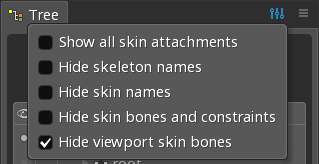
Hide skeleton names
When checked, tree nodes that start with the name of the skeleton and a forward slash (/) have the skeleton name replaced with an ellipsis.
For example, if the skeleton name is spineboy and an attachment is named spineboy/head then the attachment will appear in the tree as ...head.
This setting can reduce clutter in the tree by making the names shorter. Some projects use the same images path for every skeleton with a subfolder that contains the images for each skeleton, meaning that every attachment name is prefixed with the skeleton name.
Show slot folders under bones
When checked, slot folders are displayed under the parent bones of the slots contained within them. A slot folder may be displayed under multiple bones if the slots have several parent bones.
Show slot paths
When checked, slot folders are displayed as part of the slot name in a dimmer color followed by a forward slash (/).
Show all skin attachments
When unchecked, under each skin placeholder the tree shows only the attachment for the active skin, if any. Also, property rows for attachments in a skin that isn't active are not shown in the dopesheet or graph.
When checked, under each skin placeholder the tree shows the attachment for every skin that has an attachment for the skin placeholder.
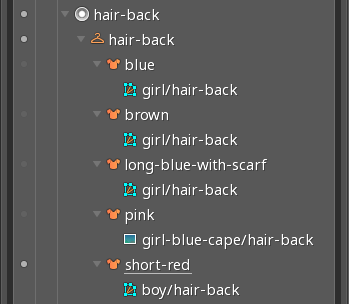
The active skin is always shown, even if it doesn't have an attachment, to allow an attachment to be set.
This setting shows a lot more nodes in the tree, but provides a look at all your skins at once and can make some tasks a lot easier.
Hide skin names
When checked, tree nodes that start with the name of the active skin and a forward slash (/) have the skin name replaced with an ellipsis.
For example, if the skin name is girl and an attachment is named girl/head then the attachment will appear in the tree as ...head when the girl skin is active.
This setting can reduce clutter in the tree by making the names shorter. Some projects use a subfolder that contains the images for each skin, meaning that every attachment name is prefixed with the skin name.
Hide skin bones and constraints
When checked, bones and constraints that are in a skin and are not active because their skin is not visible are not shown in the tree.
This setting can reduce clutter in the tree for projects that use many skin bones or constraints.
Hide viewport skin bones
When checked, bones that are in a skin and are not active because their skin is not visible are not shown in the viewport. Also, their bone rows are not shown in the dopesheet or graph.
When unchecked, all bones are made active, regardless of which skins are visible.
It can be helpful to see all the bones, but can also be misleading for skin bones to be active when their skin is not visible. Bone warnings that will not render correctly at runtime may render correctly when this setting is unchecked. For that reason, this setting is checked by default and should be checked most of the time.