How to create your own Telegram and Discord stickers
April 4th, 2022
Stickers are a great way to express emotions or to just goof off in messenger apps. Let's learn how you can use Spine to create your own custom stickers/emojis for Telegram and Discord!
The project
We've created a special version of Spineboy for this blog post: Chibi Spineboy! You can download the files to follow along here. The project can be used to more easily create your own stickers, or you create your own skeletons and animations.
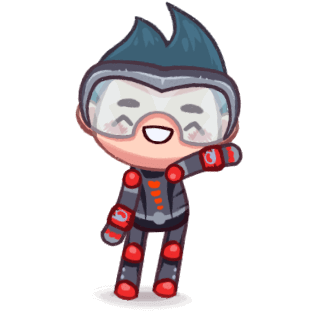
Platforms like Telegram or Discord usually require your stickers to fulfill some requirements. In general, animated stickers should be short, looping animations. The sample project we provide here features a simplified skeleton with fewer body parts compared to the original Spineboy project, but many options for eyes, mouths, and emote symbols to provide a lot of variety. It also includes alternative skins for members of the Spine team. We simply couldn't help it. The rig is very similar to the one featured in the first two Helmet streams.
We followed a simple workflow when creating the animations for Chibi Spineboy. First, the character was posed as a still emoji. Next, small looping movements were added. This approach makes it extremely fast to add new animations, and also keeps the scope of the project in line with the minimalist aesthetic stickers require.
More complex animations are also great! Just note that the more and longer movement you have, the heavier the final size of your exported file might be.
You can watch the whole animation process for Chibi Spineboy in this Twitch stream.
Exporting for Telegram
Let's have a look at the Telegram requirements for video stickers and see how this translates to Spine.
- Video must be in WEBM format encoded with the VP9 codec. Simply choosing the new WEBM export in Spine 4.1 and beyond creates a compatible file, so we don't have to worry about codecs!
- One side of the sticker must be exactly 512 pixels in size, the other side can be 512 pixels or less. This can be set in Spine by choosing
Fitinstead ofScaleand then adding512to both boxes that appear next toFit. - Video duration must not exceed 3 seconds. This equals 90 frames if your timeline is set to 30 FPS (the default).
- Frame rate can be up to 30 FPS. Exporting at 30 FPS produces the smoothest results. If you notice your file becomes too large you can lower the FPS a little, but it's rare for this to be necessary.
- Video should be looped for optimal user experience. In our case this means that the first and last frame should match.
- Video size should not exceed 256 KB. WEBM files of the required size don't usually go over this limit. If they do you can adjust the quality settings when exporting.
- Video must have no audio stream. We'll just leave the audio option set to "None".
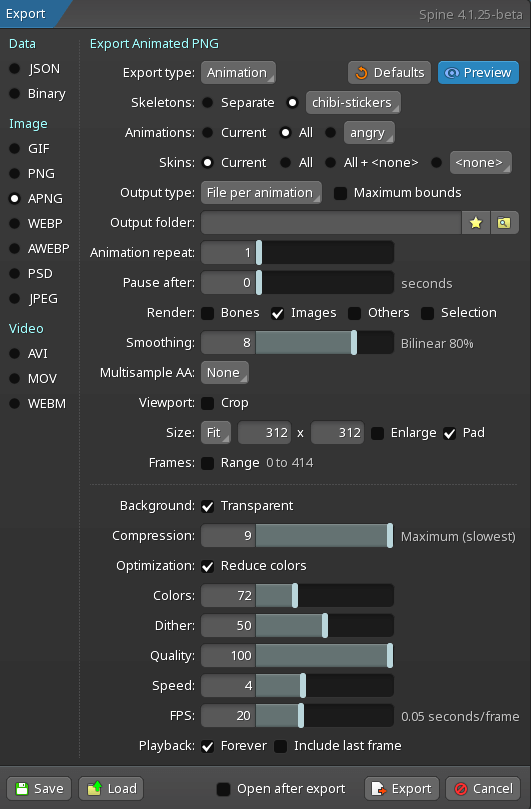
Applying all these requirements to our export settings looks like this:
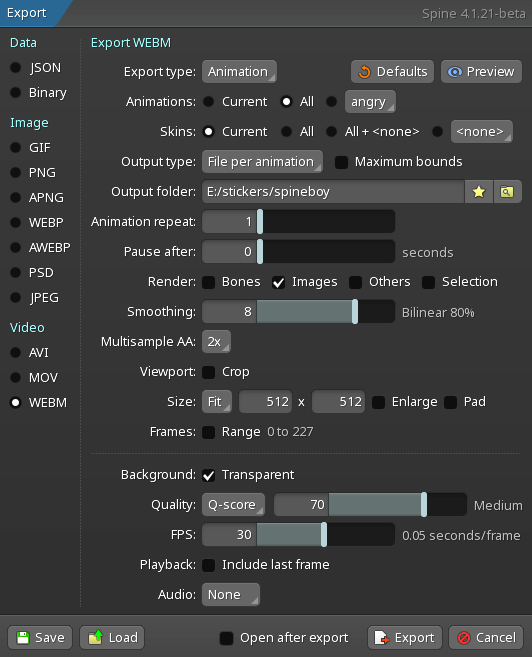
In the example, a separate file is created for each animation by using the "File per animation" output type. This way, all animations can be exported at once. A little anti-aliasing is added and a transparent background is also set, which is recommended but not mandatory.
If these settings seem complicated, you can use our export settings file. Simply download the export settings and load it in Spine.
All that's left is set an output folder and click export! After exporting, we end up with one WEBM file per animation, from which we can create a Telegram sticker set.
Creating the Telegram sticker set
Telegram recommends to create your sticker sets via the Telegram desktop app.
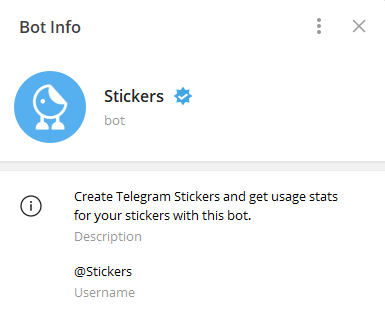
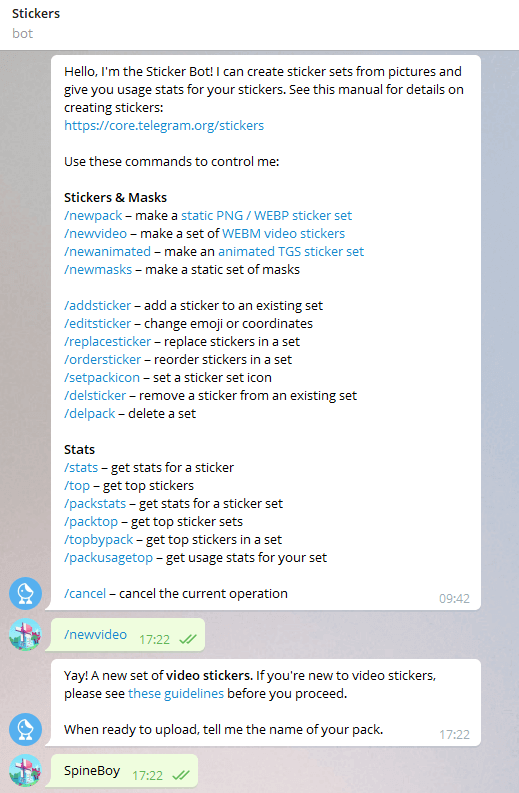
First, start a chat with the @Stickers bot and type the command /newvideo in the chat.
The bot will ask you to assign a name to the set, so reply with the name you want.
Next, it's time to actually add each sticker! This has to be done once for each individual sticker.
Locate the WEBM file for a sticker on your computer and send it to the bot. You can also use drag and drop.
Assign one or more emojis to represent the sticker. The first one you pick will be displayed in the chat preview.
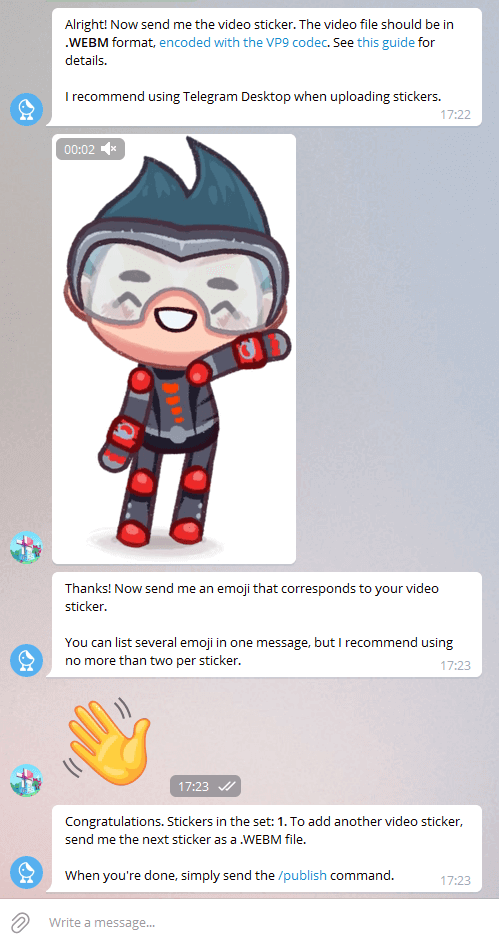
Repeat the process until for the remaining WEBM files.
Once you've added all stickers, you can publish them by sending the command /publish to the bot. You will be asked if you want to assign an icon to the sticker set, which you can skip via the /skip command. Finally, the bot will ask you to provide a short name for the sticker set, after which it will give you a link to the sticker set which you can use to install the stickers.

You can install the Spineboy sticker set by following this link.
Exporting for Discord
Let's also have a look at the Discord requirements for stickers:
- Animated File types: APNG An APNG is an animated PNG and Spine can directly export to this format.
- Max File size: 500 KB This size is strict, but it usually is enough to enable
Reduce colorsand then lower the number of colors to create significant smaller APNGs. If this isn't enough, lower the FPS too. - Dimensions: 320px x 320px (exact) This can be set in Spine by choosing
Fitinstead ofScale, setting the width and height fields of theFitsettings to320, and checkingPadso that the output matches the size exactly.
Just like in the Telegram case, we export one file per animation and set a transparent background.
You can download our export settings and load them for use with your Spine projects.
Adding the stickers to your Discord server
There are two requirements to be able to add stickers to a Discord server: your Discord role has to have access to edit emojis and stickers, and the Discord you want to add stickers to needs to have at least one boost. You can learn more in this Discord article on adding and managing stickers.
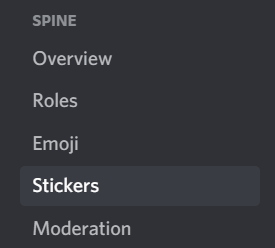
To add stickers to your Discord server head to the server settings:

Then pick the stickers from the server menu:
You'll be presented with an overview of the stickers requirements, and whether you can add stickers. If there are no stickers, a plus button in the lower area lets you add some.
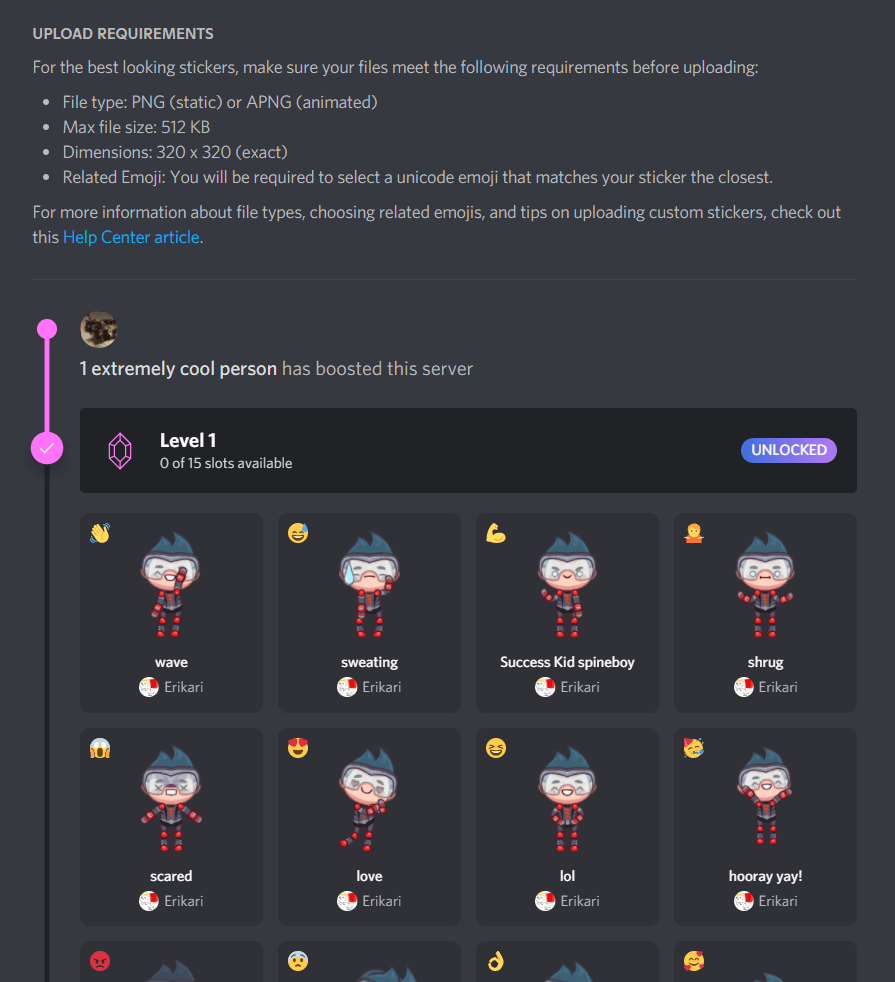
Upload each APNG, assign an emoji and describe it. If you use simple words the sticker will be suggested when those words are typed. Finally, save your changes.

Once you are done, everyone in the server will be able to use the custom stickers!
Video Process
If you're more of a visual learner, we've got you covered! Erika has streamed these techniques on Twitch. Check out the complete stream or the digest version here:
Conclusion
Stickers can be so much fun! Have you tried out this workflow? Let us know what you've created! We love to see your creations, so remember to tag them using #madewithspine on social media.
Stop by the Spine forum and let us know your thoughts about these techniques or ask questions if you get stuck.